Showing posts with label Crafty McCrafterton. Show all posts

Wednesday, June 15, 2011

Bottling Up Summer Fun: "I'm Bored" Jar

This was supposed to be a craft for our MOPS group this year, but it didn't happen.

So I just threw one together for my own family. And you can too.

It's too simple to even be classified as a craft. It's basically a 10 minute project.

First, grab a jar. I'm using one of my favorite chalkboard jars, but any old jar'll do ya.

Label the jar with the words "I'm bored."

Next cut up a bunch of little strips of paper. On the strips, write down activities that are doable for your family on any given day. Have a good mix of chores and fun things... you don't want to encourage the kids to constantly say "I'm Bored."

Some of my strips say:
  • go get frozen yogurt
  • paint a picture
  • roast marshmallows
  • clean 2 windows :0) (mwah ha ha!)
  • dust
  • sidewalk chalk
  • make play dough
  • make cookies with Mama
  • get in swimsuits and play in the hose
  • go on a walk
  • play a game of crazy eights
  • make popsicles

Basically, anything that will break the daily routine, jot it on a slip o' paper and fill that-there jar up.

Then the next time your kids say those infamous words: "I'm Bored!"

Yep, you guessed it... they grab one strip of paper from the jar and the bored child (or the whole family) does whatever is on the strip.

Try it out! At the very least, you will have very clean windows before the summer is over.

Friday, September 24, 2010

Crafty McCrafterton: Re-Purposed Necklace

Hello My fellow Crafty McCraftertons!

Just wanted to share a fun, re-purposed craft I took on last week (before my entire family became sick with an awful flu bug! Thank you, first week of preschool...)

It all started with this tutorial on fabric-rosette-making. I was so inspired, I decided to raid my supplies and figure out a way to make something right then and there!

I dug up this old necklace I haven't worn in a while.


First start by taking the necklace apart.
Now take a long piece of thread (I used embroidery thread), and tie it to a long thin strip of fabric. Tie a needle to the end of your thread.


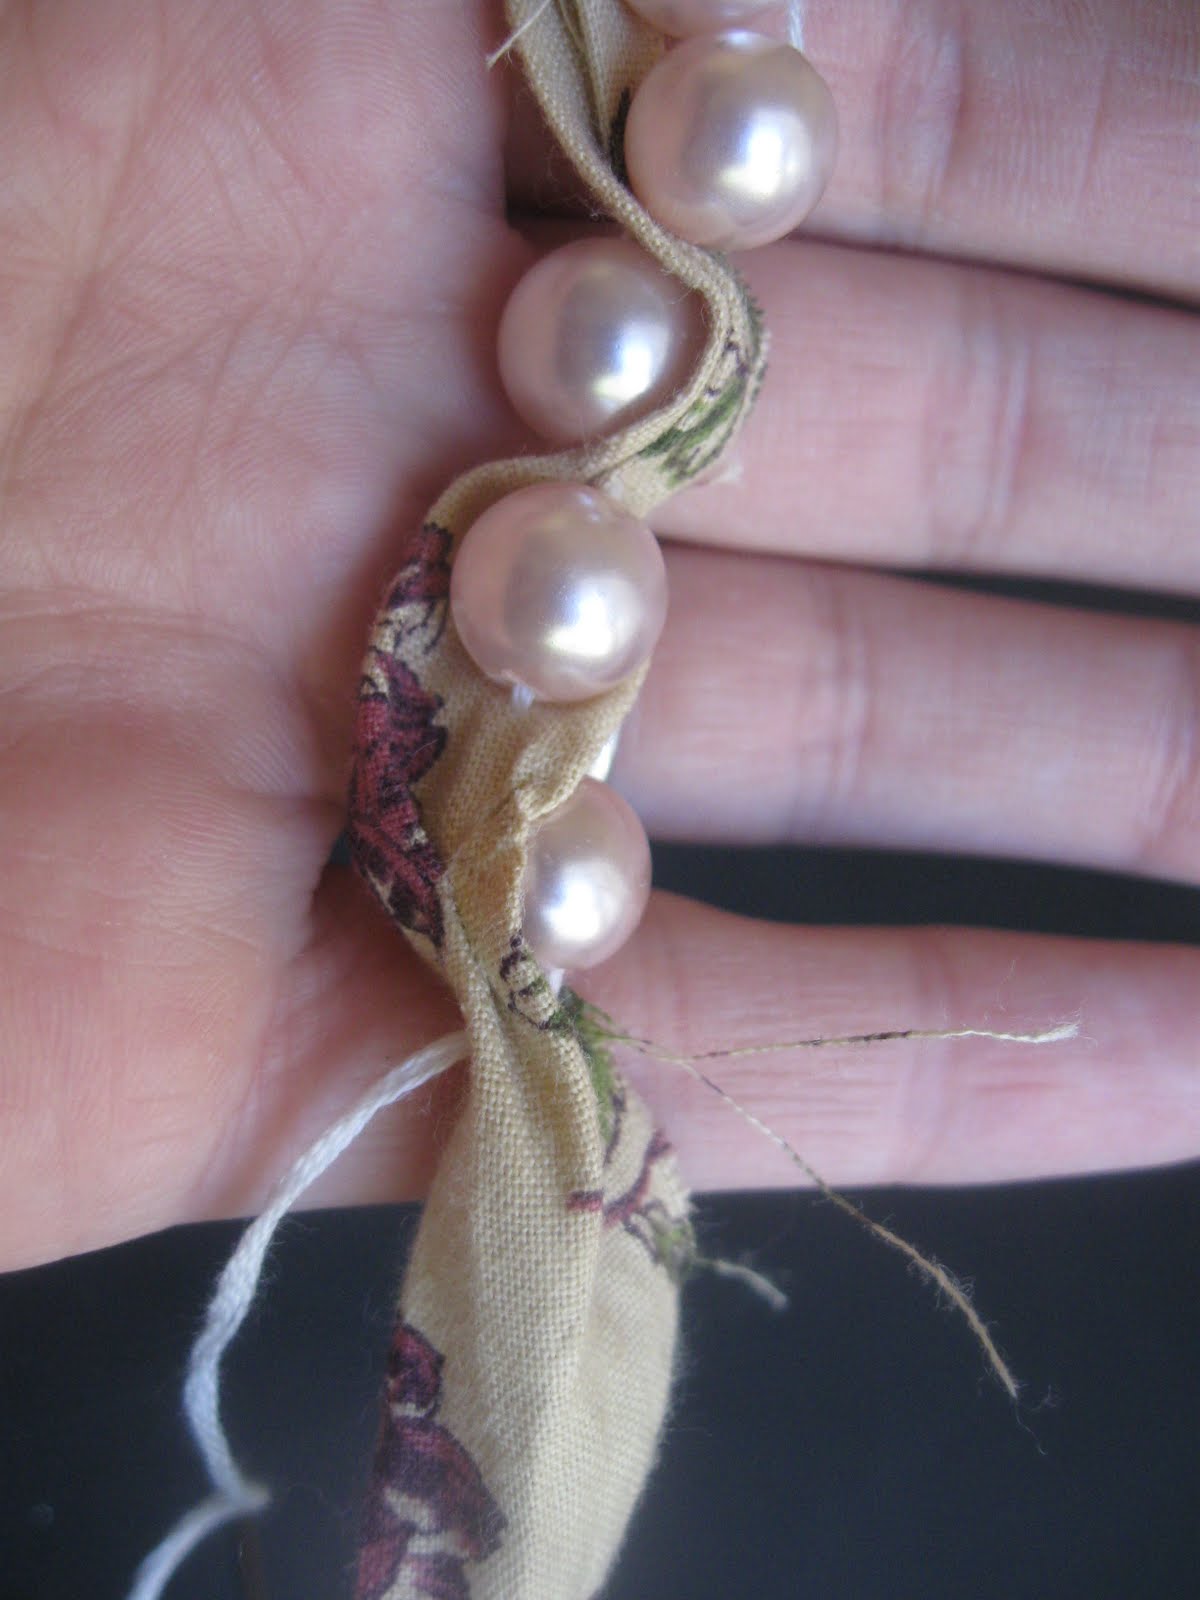
Now begin by stringing a bead onto your thread. Then sew through that same side of the fabric strip. Once your string is on the other side, string another bead. Then just keep repeating this pattern.


It's kinda difficult to explain in words, but VERY easy to do. Here are a bunch of pictures, which will probably explain it better.

Please excuse my hideous cuticles. Remember I've been sick.


Once you've used all your beads up, just attach your fabric flower rosette (mine is made of the same fabric I used for the necklace) and...


You're all done!


This was my first attempt at fabric rosette making, and to be honest, I wasn't thrilled with the way this one came out. After more practice, I think I've gotten the hang of it. Here are some fabric-flower-making tips I've discovered through trial and error:

  1. Use the right glue. Fabric glue is the only way to go and worth the purchase if you want to make these right.

  2. Use thinner fabric. Thicker fabric, like the one I used, just ends up looking bulky.

  3. Keep it loose. In this flower, I was rolling the fabric too tight as I glued. When I finally figured out how to keep it looser, it started looking a lot prettier and more flower-like.

Back to the necklace. Despite my not-perfectly-perfect flower, I still really like the way it turned out. Very artsy and shabby-chic!