Friday, September 3, 2010

Man, I Feel Like a Woman: Re-purposed Artwork

I truly believe Shania must have recently completed a DIY-home-improvement-project before penning those infamous words.

Seriously, there's not much that makes me feel more empowered than creating something myself and having it turn out super cute (or at least semi-cute and straight). Among my recent mega-woman moments are the bathroom stripes I painted, the chalkboard kitchen table McPreachy and I painted together... AND this simple artwork I made for my bedroom.

A few months ago, I found some old, gross frames lying around in the garage and decided I wanted to re-purpose them into something anthropologie-esque for our boudoir.

First I spray- painted the frames black.

Next I found some cute, vintagey images off of google images and made some freezer paper stencils by printing directly on the freezer paper and cutting out with an exacto knife. Here's a good tutorial on freezer paper-stencil-making.


Then I painted the stencils onto burlap, using black fabric paint.


Once dry, I removed the stencils and trimmed my burlap to fit in the frame. Finally, I framed and matted them.


Here they are all finished...

And here they are in their new home.


And remember...

The best thing about being a woman... is the prerogative to make your own artwork.

By the way, is anyone else shocked that 'prerogative' is spelled like that? I always thought it was 'perogative.' Thank you Spell check.

And what the heck, Webster?

Wednesday, September 1, 2010

Taking a Chalk on the Wild Side: Reinventing Our Kitchen Table

When we moved into our house last summer, we soon discovered that our kitchen table didn't quite fit into its new surroundings. It was time for a facelift, but we could not agree on which color to paint it.

We've actually gone back and forth and back... and forth... about it for the last year.

That is, until one fateful day a few months ago when I was divinely inspired...

Okay so, maybe it wasn't divine, but it was inspiration alright.

We decided to paint our kitchen table... with chalkboard paint!


Here's how we did it:

Here's what the table looked like before painting.


We sanded her down...

Primed her...


And painted the top with three thin coats of chalkboard paint.


We painted the legs plain black, and....

Here she is all finished!


And here she is in her new home.


We still need to paint the chairs. Our plan is to paint them a Tiffany/Robin's Egg Blue.

A Few Tips:
*I highly recommmend using a roller instead of a brush for the table top so you don't get ridges and lines on the surface of the table.

*Also, I recommend letting the paint dry for a long time in between coats so it dries smooth and doesn't cake.

*Finally, I've found that the chalkbaord surface really picks up lint so make sure you clean the chalk off your table with a damp microfiber cloth, not a paper towel or white cotton towel.

The verdict: We love our chalkboard table! There are so many fun things you can do with the table. To name a few:

  • Greet kids and husband with a message when they come down to breakfast in the morning


  • When entertaining, use as a buffet table and label each menu item.

  • Similarly, use the table to make an awesome cheeseboard, labeling all the different types of cheese you are serving.

  • For birthdays, have everyone write things they love about the birthday boy or girl.

  • At dinnertime, write a question of the day that everyone has to answer during the family meal.

  • Draw your own place mats!


  • You'll have to forgive my forks. I'm not the best artist.


  • Allow kids to practice letter/number writing... or just color!

    These are just a few ideas that have come to me... but there are unlimited uses for this practical, fun, kid-friendly addition to our home.

    Thursday, August 26, 2010

    Easy, Microwavable, Homemade Mac and Cheese: The Holy Grail of Motherhood

    (picture courtesy of thekitchn.com)

    My son is not a great eater. He really could do without eating most of the time. But one of the few foods he will devour happily without me force feeding it to him is Mac and Cheese.

    So when I stumbled upon this recipe online, I literally made it right then and there. It was 4:00 in the afternoon, and I already had dinner planned and ready to go... so I gave it to my kids as a snack.

    I just needed to know if it was too good to be true.

    Oh no, my friends. It isn't.

    Please go try this recipe immediately. The beauty of it is three-fold:
    1. It is SO much healthier than the boxed version.
    2. I always have these ingredients on hand, so I can always whip it up in a pinch.
    3. Is is easy to customize and tweak to your liking.


    Okay wait, the beauty is four-fold:

    4. It's quick... it's made in the microwave for goodness sake!

    Hope you enjoy it. I just know it will be a lifesaver for me.


    Wednesday, August 25, 2010

    Pick a Pack Of Pitas: Amazing Quick Lunch

    Do you ever make a new recipe and become so overwhelmed with its deliciousness that you get obsessed with it, eating it every day for a week straight?

    Well that's whats been happening with this simple lunch I've eaten for three days in a row now. I call them...

    Greek Tomato Pita-wiches

    It all started when I made up a batch of these AMAZING marinated tomatoes (look how many ways you can use them!!!).

    I had them sitting around at lunch time and wanted to gobble them up, but I needed a vehicle by which to devour them. So I searched around in my fridge for worthy ingredients...


    ...and a pita-wich was born.
    Welcome to the world, little guy.

    Here's how you make it:

    1. First, toast your pita. I cannot stress enough the importance of this step. Cold pita is a no-no. I just toasted mine in my toaster oven, and it came out perfect.

    2. Next, cut yo' pita in half and open 'er up. Be careful... I have discovered that pita steam enveloping your hand hurts like a mother.

    3. Now fill that bad boy with your marinated tomatoes (I guess making these is really the first step... consider it step .5). Throw a few spoonfuls of the marinade in there, just for giggles and grins.


    4. Now add in a healthy sprinkling of feta cheese and a handful of kalamata olives. Other Greek-worth ingredients that would be delish include peppers, cucumbers and red onion. But I just kept mine simple with tomatoes, feta and kalamatas.
    Isn't that so easy? And SO healthy, especially if you get whole wheat pitas.

    And look... hardly any mess to clean up!

    It's deliciousness is unparallelled.

    Monday, August 23, 2010

    Stripe It Up: Fixing a Bathroom Disaster

    When we moved into our house a year ago, we made a little paint blunder.

    To put it simply, we painted our kids' bathroom neon green.

    I was kind of shooting for a pistachio-asparagus-frolicking-in-the-springtime kind of green, but instead we ended up with a shade reminiscent of Shrek.

    Our first thought was to just repaint the whole thing. But then I saw this post on my favorite decorating blog and decided that painting some wide stripes in a lighter shade of green would tone everything down while still keeping the bathroom fun and playful for the kids.

    So, thanks to my Mama, who helped with the taping, and more importantly watching the kids, I finally finished the project this weekend.

    Here is the kids' much-less-neon bathroom.


    I am kicking myself for not taking a before shot... what was I thinking?!
    Just trust me. You would appreciate the striped wall a LOT more if I had a good before shot to make you gasp in horror. Because, believe me... it was horrible. Just envision the whole room the color of the darker green stripe and then add Shrek slime and a squeeze of lime on top of that, and you will have a small idea of how squint-inducing it was. I practically needed to wear sunglasses when bathing my children.

    The Moral of the Story: Never EVER pick a paint color online, even if it's the last color you need to pick and your sweet husband is pressuring you to pick a darn paint color already. Even if you're moving and you have a 6-week-old-infant you are breastfeeding. Even if life as you know it comes crashing down around you, just get your butt over to Home Depot and buy a sample can. If you pick a paint color online, disaster will ensue.

    Friday, August 6, 2010

    Family Movie Night: A New Tradition


    Sorry for the blog hiatus, peeps. In all honesty, the reason I haven't been posting is that my phone has been malfunctioning when I try to retrieve pictures off of it, and that's where I take most of my blog pics because it's so much more convenient. So I have several picture-less posts written and waiting. I'll post them as soon as my technologically-savvy hubby can fix my phone and retrieve the pics for me.

    In the meantime, I used my point-and-shoot camera to document a new tradition we are implementing in the McPreachy household: Family Movie Night!!!
    As most of you know, I LOVE traditions... almost to a fault. I can definitely go overboard when it comes to traditions, but I can't help myself. I LOVE THEM!

    Recently, this post and this post inspired me to get a more regular tradition going in our house (not just during holidays, but year round). To be honest, weekly traditions are hard for us... as a pastor's family, our schedule really varies from week to week, especially in the evenings. So I fear a "pizza every Friday" tradition would get skipped so much that it wouldn't be a tradition anymore.

    So instead, I decided to do a themed family movie night on the first Thursday of every month. This idea for this tradition came from Bennett. He is ALWAYS asking me:

    "Mama, can we have special fam-iwy time on the couch with popcorn and hot chocolate and watch a show?"
    Not much makes Bennett happier that when we sit down and enjoy a movie with him.

    The thing I really like about this tradition is that it will grow so well with the kids. For now it's Curious George and Monsters vs. Aliens, but as the kids grow up, it can be Star Wars, ET, Goonies and Swiss Family Robinson.
    The plan for our movie night tradition is to get creative and theme the entire meal/evening around the movie we are watching.

    Tonight's movie was Cloudy with a Chance of Meatballs. So for dinner, we naturally had spaghetti and meatballs! Here's the PW recipe.


    Here's Mallie Gal enjoying her speecy-spicey meatball.


    And here's Bennett playing with his spaghetti. He was cracking himself up sucking up the long noodles...

    So of course, we had to reenact the famous scene from Lady and the Tramp.

    For dessert, Bennett and I made these fab spaghetti and meatball cupcakes. SO cute and tasty. I used this recipe for the cupcake batter and this one for the frosting.


    Aren't they darling?! And they look just like the real thing...

    Cue cheesy comparison shot.

    And the best thing about movie night... Bennett was SO excited. Just look at his little face.

    He was practically beside himself with glee when it was time to watch the movie. And today he keeps asking to watch "Meatballs with a Chance."
    Finally, before I go, a random note about cupcakes:


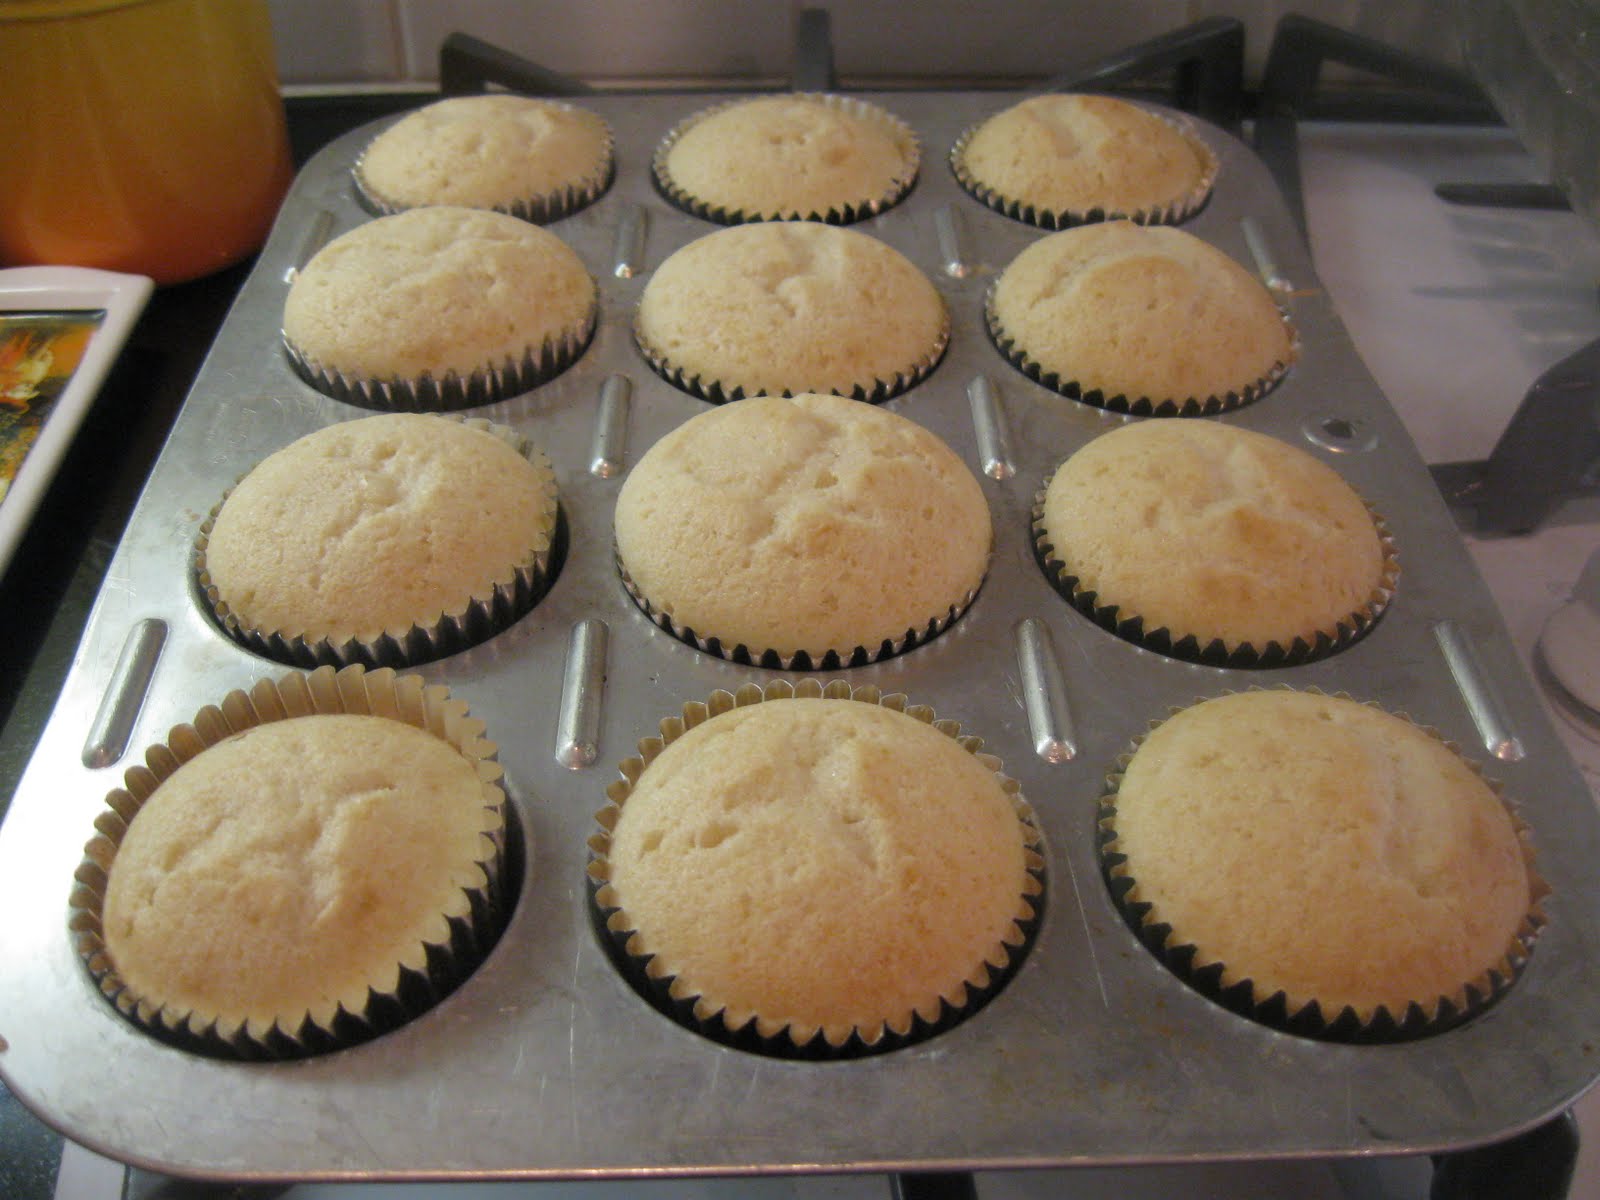
    The cupcake recipe is for 36 cupcakes. I don't know about you, but there is no way my family can eat that many cupcakes before they get all gross and mushy. I usually make the mistake of baking them all, and then I end up wasting a bunch of cupcakes.


    But not this time. No, not this time.


    Instead, I baked only one dozen cupcakes. Look at poor, little gimpy on the bottom left.


    Then I froze the rest of the batter in two labeled ziplocks. I just learned that you can freeze batter. Whoda thunk?

    Now the next time the cupcake mood strikes us (meaning me), we (I) can just pop one of these bad boys out of the freezer, defrost and bake. Voila!

    Tuesday, July 13, 2010

    DIY Chinese Food: Super-Amazing, Incredible, Healthy Stir Fry... and Fried Rice!

    A few nights ago, I mixed and matched a few different stir fry recipes to create this recipe for chicken stir fry. It was AMAZING! I served it with one of McPreachy's favorites: bacon and egg fried rice! YUM!

    Hope you enjoy this healthy (well... except for the bacon) and delish meal!

    Chicken and Cashew Stir Fry:

    • 3-4 chicken breasts, cut into strips

    • 16 oz veggies of your choice ( I used snap peas, red pepper, onions, shredded carrots and mushrooms. For an even easier meal, just buy a bag of frozen stir-fry veggies!)

    • 3/4 cup whole cashews (or almonds if you prefer)

    • 3 cloves of garlic, chopped

    • 1 T. cornstarch

    • 1 T. brown sugar

    • 1/2 tsp. ground ginger

    • 1/2 c soy sauce (I used low-sodium from TJ's)

    • 1/3 c. pineapple juice (I'm sure you could use OJ in a pinch)

    Directions:

    1. Heat a few tablespoons of canola or peanut oil in a wok or large skillet over medium-high heat. Add chicken and cashews and stir-fry for 4 minutes, until chicken is browned all over.

    2. Add your veggies and garlic to the pan. Cover the pan and cook for another 5 minutes or so. Don't worry if the pan seems crowded; the veggies will cook down. (Note: the above picture was taken before this step. The veggies will be more cooked down than this when you are finished.)

    3. In a small bowl, combine cornstarch, brown sugar, ginger, soy sauce and pineapple juice. Add this mixture to the wok and cook 2-3 minutes, until thickened.

    4. Serve over rice or stir the whole thing into cooked buckwheat/soba noodles for homemade Pick Up Stix-style Chow Mein! Enjoy!

    Like I said, I served this delightful dish o' the Asian persuasion with my favorite bacon-egg fried rice. I'll tell you how to make it, but I'll warn you that this isn't really a recipe, more of a method. I just kinda sprinkle and dump until it tastes right. So if you are the type of person who needs exact measurements, do not keep reading. You will be frustrated.

    Bacon-Egg Fried Rice:


    1. Cook one cup of rice they way you normally would. Set aside.

    2. In a wok or large skillet, cook 6 slices of chopped bacon until brown and crispy. Drain and set aside.

    3. Add a few tablespoons of canola oil to the same pan. Over medium-high heat, cook one yellow onion and 4 cloves of chopped garlic until soft.

    4. Add two beaten eggs and scramble until cooked.

    5. Add your rice and stir everything together.

    6. Start seasoning. I usually add a healthy shake of ground ginger, several generous shakes of soy sauce, salt and pepper. Just keep adding and adjusting until you get the fla-vah you desire.

    7. Once your seasoning is good, just pat the rice down and let it sit for a few minutes to get a little color. Careful not to burn it.

    8. Stir in your bacon and serve! Enjoy!

    Well done, Grasshopper. You are now wise in the way of Asian cuisine.